7 Breathing Exercises to Improve your Voice
We all know that breathing exercises can lower your anxiety and increase your overall sense of wellbeing.
But did you know that certain breathing exercises can improve your voice too? If your voice feels weak, thin, breathy, or you experience unexplained vocal fatigue or hoarseness, there’s a good chance your breathing may be (at least partially) to blame.

The link between breath and voice.

The Link between breath and voice
There is a very close relationship between the breath and the voice. Your voice is literally breath, made audible. Breath is the fuel for the voice.
The two are inextricably interwoven in a beautiful, complex, dynamic dance. If one of the partners decides it wants to change the rules, or not show up and dance with its partner, the whole production can start to fall apart.
When the relationship between the two is healthy, it sets up an acoustic environment to encourage healthy resonance (more on that in another post), boost harmonics, and allows you to make laryngeal adjustments with ease. In today’s post, we are going to look at some exercises that will encourage your voice and breath to rock that dance floor like never before!
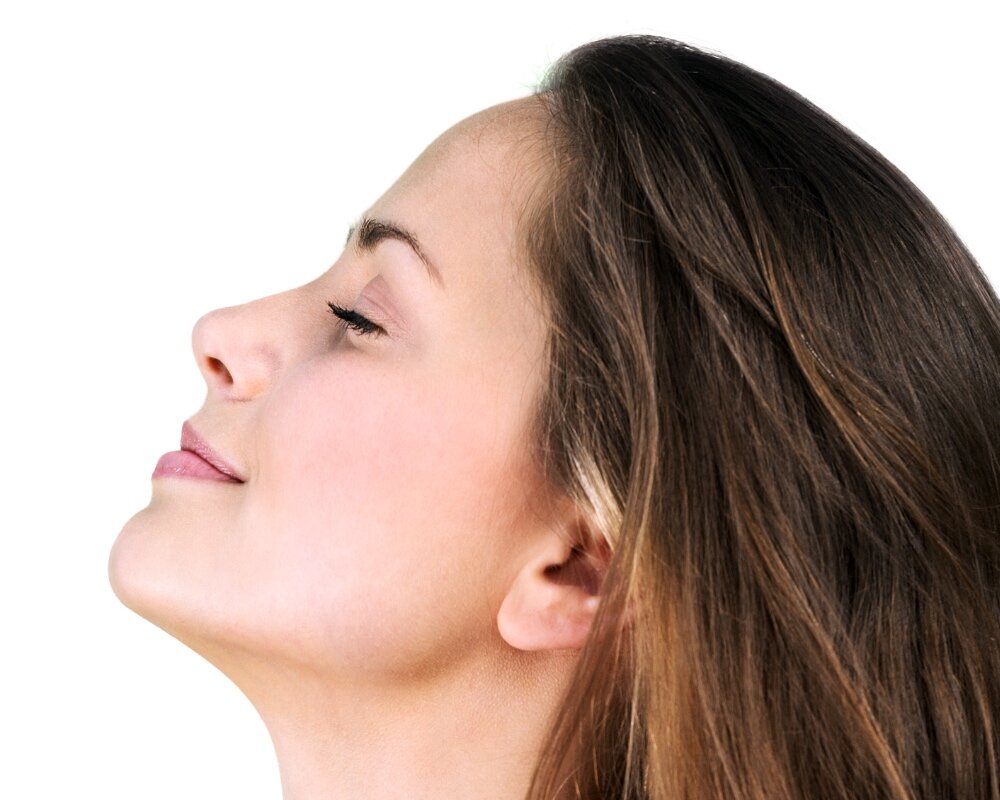
Focus on feeling your breath move.
Let’s start at the very beginning. A very good place to start. 😆
Get into a position that is very comfortable for you, and your posture doesn’t obstruct your ability to breathe freely. I recommend lying flat on the floor with knees bent and feet on the floor. Arms can be at your side, stretched out to the side or above your head, whichever feels most comfortable for you.
For approximately 1-2 minutes, simply notice your breath entering and leaving your body. Try to breathe through the nose if possible. Observe what parts of the body move and what doesn’t. Don’t try to “fix” anything, just observe.
Take a couple minutes and try this right now. What did you notice about your breathing?
Observe your breathing.
Exhale longer than you inhale.
Without making any sound with your voice, practice exhaling silently as long as it is comfortable for you (preferably through the nose). Then, allow the inhale to come on its own terms. Don’t worry about the exact timing. As you exhale, allow the abdominals and ribs to engage in the exhale calmly, without rigidity, exhaling a little further each time if you are able.
On the inhale, smoothly release your exhalation muscles to allow the ribs and abdominals to return to their original position. As your coordination improves, try to inhale and exhale through the nose exclusively. As this gets more comfortable, you can start to count in your head the length of the exhale and inhale, or use the timer function on your phone.
As you continue to practice, see if you can increase the exhale just a little bit each time and decrease the inhale, until the ratio is approximately 2:1 with the exhale being the longer phase. Ideally, we want our breath cycle to be about 5.5 cycles per minute. A little quick math indicates each breath cycle should last approximately 11 seconds each. If we plug that into our 2:1 ratio that would mean our target for the exhale should be about 7-7.5 seconds and the inhale should be about 3.5-4 seconds each cycle. As you practice this you can continue to extend the exhale.
Here is what one of my 5 minute practices of this exercise looks like.
The odd laps are measuring exhales and the evens are inhales. You can see that my inhale consistently tracks at about 3-3.5 seconds. Sometimes a little higher or lower, but as my exhale lengthens my inhale stays fairly consistent, and even drops a little.

Practice breathing through a straw.
Singers are often taught to sing through a straw, but an exercise that can be incredibly helpful is just breathing through a straw. Start with a diameter that is comfortable (and maybe just a little challenging) for you. Seal your lips around the straw and exhale calmly and slowly like you practiced in the previous exercise.
Allow the inhale to arrive however it is comfortable for you. Once you have the coordination down, try to perform both your exhale and inhale through the straw. As you progress and this exercise gets easier, you can change to a straw with a smaller diameter and/or longer length. This will increase the resistance to your airflow, which is like resistance training for your diaphragm. 💪 As you continue to increase the resistance, then move back to the previous exercise and see if your exhale is longer.
As you continue to practice this breathing exercise, you may notice that the inhale phase through the straw necessarily must be longer and a bit more active in order to keep your nervous system calm. Because the straw diameter is most likely smaller than the combined diameter of your nasal passages, it will naturally take longer for your lungs to replenish, and may require your body to work a little harder to draw that air in. As long as the body remains calm and you feel all the structures working together, it is ok to feel a little work, mostly in the ribs in your back and sides, as well as abdominal wall.
Try yoga ball breathing for singers.

Breathe through a straw to improve your speaking and singing voice.

Use a yoga ball to practice building awareness of your breathing
This is one of my absolute all time favorites for singers. It’s an exploration exercise to catalogue all the places in your body that you can feel the breath move throughout your breath cycle. Hopefully you have a yoga ball for this breathing exercise. Other substitutes could be a stack of pillows, the back of a couch or stuffed chair, or, in a pinch, you can lie over the edge of your bed.
Start by finding a comfortable “rag doll” posture over the ball. Allow your arms to fall over your head toward the floor, or around the ball out to the side, whichever is more comfortable for you. As you breathe, notice where the breath wants to move on the inhale. Do you feel your abdomen pressing into the ball? Do you feel breath movement into your back? Take an inventory of all the places you can feel breath movement.
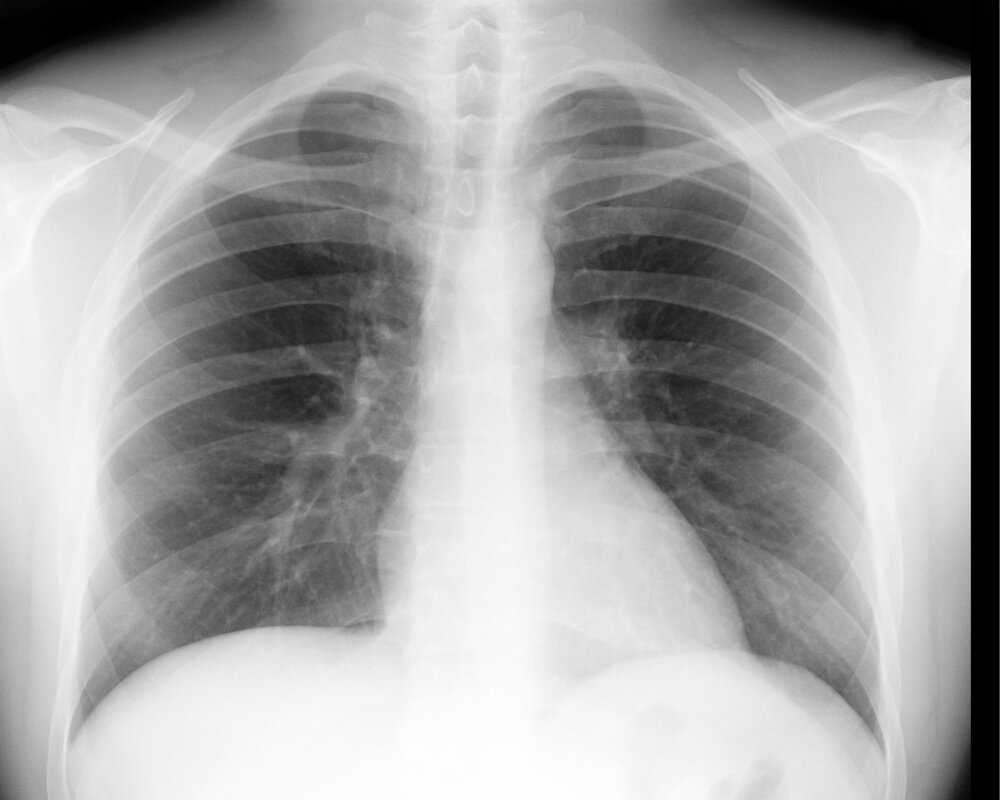
The lungs extend all the way up under the collarbone and scapulae
Then, exhaling longer than you inhale, invite the inhale to move into your mid back (about where a bra strap would extend around the mid torso--approximately T9 or T10 for you anatomy geeks). Feel the expansion and movement of the ribs as you inhale and exhale. Then, explore feeling the breath moving into other areas of the back. Our lungs extend upward under the scapulae, all the way to the top of our torso. Check out this X-Ray if you don’t believe me.
See if you can feel some movement up and under the shoulder blades as you inhale and exhale. Spend some time exploring where you can feel breath movement in all locations in your back and sides. See if you can minimize the amount of pressing you feel with your abdomen into the ball. Practice several breath cycles, feeling the breath move into various locations.
Release excessive tension with a sigh.

This breathing exercise is very simple and can have profound results for anyone who struggles with tension. Basically, you just engage in a long, drawn out sigh, like as in, “a sigh of relief.”
As you sigh, notice if you feel anything in your body relaxing or releasing. Most people will feel some sensation of release either in their ribs, their abdomen and/or shoulders. Wherever you feel it, draw your attention there and sigh again, maybe a little longer this time if you can comfortably, and ask your body if that sensation of relaxing or releasing can spread--deeper, wider, into another body part.
Take your time and really commit to the sensation of the release. Sigh one more time, inviting the sensation to continue to spread throughout the torso. I usually only recommend doing this exercise in a set of three, just to build awareness of how you can breathe without all the excessive holding patterns we have developed over the years.
Once you finish your 3rd sigh, then just breathe as you normally would (hopefully with an exhale longer than the inhale!). Can you can maintain the release you just found on the sigh?

Twist your way to better breathing and singing with this fun exercise.
Every singer has heard the phrase “breath from your diaphragm” so we mostly understand that the diaphragm must play an important part in breathing for singing. I won’t get into the detailed mechanics at this point, but it is important to know that the diaphragm has attachments all around the torso and “holds hands” with other muscles in your abdomen and spine. This breathing exercise works to keep these muscles unlocked and free to work together with the diaphragm to help move the air in and out of our body.
Start by standing upright, with arms hanging loosely at your sides. Leave your head and pelvis facing forward and twist your torso back and forth, allowing your arms and shoulders to swing freely. This does not need to be excessively vigorous, just gentle, rhythmic twisting back and forth will suffice. As you twist, draw your focus to your breath again, and see if you can exhale longer than you inhale, noticing the sensations and encouraging your body to stay as free as possible while you breathe.
Box breathing helps your breath, your voice, and your mind.
Ah box breathing, how we love you. This is the reigning monarch of breathing exercises. The principle of box breathing is to, you guessed it, exhale longer than you inhale. But it is a bit more structured. There are a variety of ways you can “build your box.” Today we will go with the classic.
The breath cycle is divided into 4 phases: Inhale, suspend, exhale, suspend. The inhale and exhale are self-explanatory, but a short explanation of the suspension phase is warranted. After inhaling or exhaling, you intentionally rest-- no locking or re-engaging of muscles, the air doesn’t move in or out, and very importantly, the vocal folds stay open (you could breathe if you wanted to, you just choose not to). So, you build your box by counting slowly (silently) to 2 on each phase: inhale for 2, suspend for 2, exhale for 2, suspend for 2.
If this is very easy for you, congratulations! You can start building a bigger box. Try 3s and then 4s. Once you get to 4s, I recommend leaving the inhale where it is and build out the other phases, so your box may start to look a bit more like a trapezoid or cone shape.
You can explore box breathing in many different applications: simply breathing through the nose, through the straw, lip syncing, speaking, pitch glides, vocal exercises, etc., etc.
Alternate your breathing to build awareness.
This is a fun awareness building exercise for your mouth and throat. Start by breathing calmly and slowly through just your nose. Feel the air moving through the nostrils up into the nasal passages then down into the throat and lungs. See if you can feel the coolness of the air as it slides into the body. Then visualize the return passage on the exhale.
Now open your mouth and inhale and exhale only through your mouth. Feel how the sensations shift and now the coolness slides along the tongue and palate before making the downward turn.
Explore alternating inhaling through the nose and exhaling through the mouth, inhaling through the mouth and exhaling through the nose. Block one nostril and breathe, then block the other nostril and breathe. You can alternate inhaling through one nostril and exhaling through the other.
Take a moment right now to try this out. What do you feel?

Try breathing through your nose, your mouth, one nostril, then the other.
Lip syncing actually can improve your breathing and singing.

This one is super fun! Practice your breath while lip syncing to a prerecorded track. As you mouth the words of the song, exhale as if you are singing, inhaling as you normally would when you sing the song.
This can be a wonderful awareness exercise to observe where your breathing is, how shall we say it, less than optimal. The goal on this breathing exercise is slow and steady airflow from the beginning to the end of each phrase, maintaining the stellar technique you’ve built through the first 6 exercises.
Practice a few of these breathing exercises every day. Even 5 or 10 minutes per day will make a big difference, especially over time.
Breathing practice has a cumulative effect.
Often people will see an almost immediate improvement in their voice after just a little bit of practice, but the benefits will continue to grow as your practice continues. Over the weeks and months, your voice will continue to build strength, stamina, clarity, resonance, agility, and flexibility. Not to mention the added benefits of reduced performance anxiety and overall sense of wellbeing that breathing practices provide.
I hope these exercises are beneficial to you (or your students!). I’d love to know how they work out for you. Share your thoughts and observations below. Stay connected and if you aren’t already on the email list, here’s where you can join. We send out all kinds of vocal and breathing goodness, and it’ll be a great way for you to know about upcoming blogs.